
How I Rebuilt the Spam Destroyer link protector
Published December 8th, 2025 under Uncategorized
Seven years ago, I ran into problems with automated spam-bots when sharing both Discord and Telegram links, so I made a basic link protector with Laravel. Shortly after, I switched it to use WordPress (my tool of choice at the time), due to already have WordPress ready code to handle Facebook logins. It was called the Spam Annihilator, but has now been renamed to the Spam Destroyer and switched back to using Laravel to power it.
Users could login and add as many links as they wanted, and it would provide them with a spam-protected link they could share online without fear of being inundated with spammers. It worked by making the users browser process some JavaScript; bots can almost never process JavaScript and so they aren’t able to follow the link.
Recently, the Facebook login system for it failed due to changes in the Facebook API, so I deactivated the login system. I received some messages saying that people wanted to keep using it. I was never happy with the implementation, and I don’t think WordPress is the best tool for this sort of job. I faced a choice: spend all day patching a bloated system, or burn it down and build it the right way.
I chose the burn it down and rebuild approach!
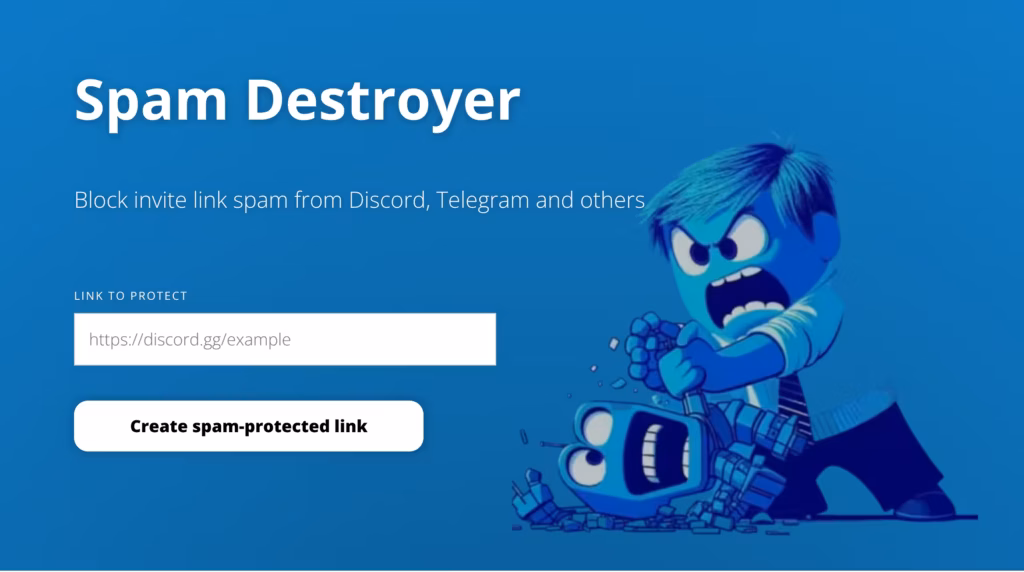
The Spam Destroyer home page
New Features
Simplified Login
The old Facebook login was annoying. It was also quite resource-intensive, as it actually logged the user directly into WordPress, which is much more taxing resource-wise than it needs to be. Logging in is also an extra step for the user, and nobody likes extra steps.
So, I ditched traditional logins entirely. Now, if you create a redirect, you get a private admin hash URL. So long as you don’t share that private admin URL, you can return to edit your link at any time. No OAuth, no logged-in states to handle, super simple!
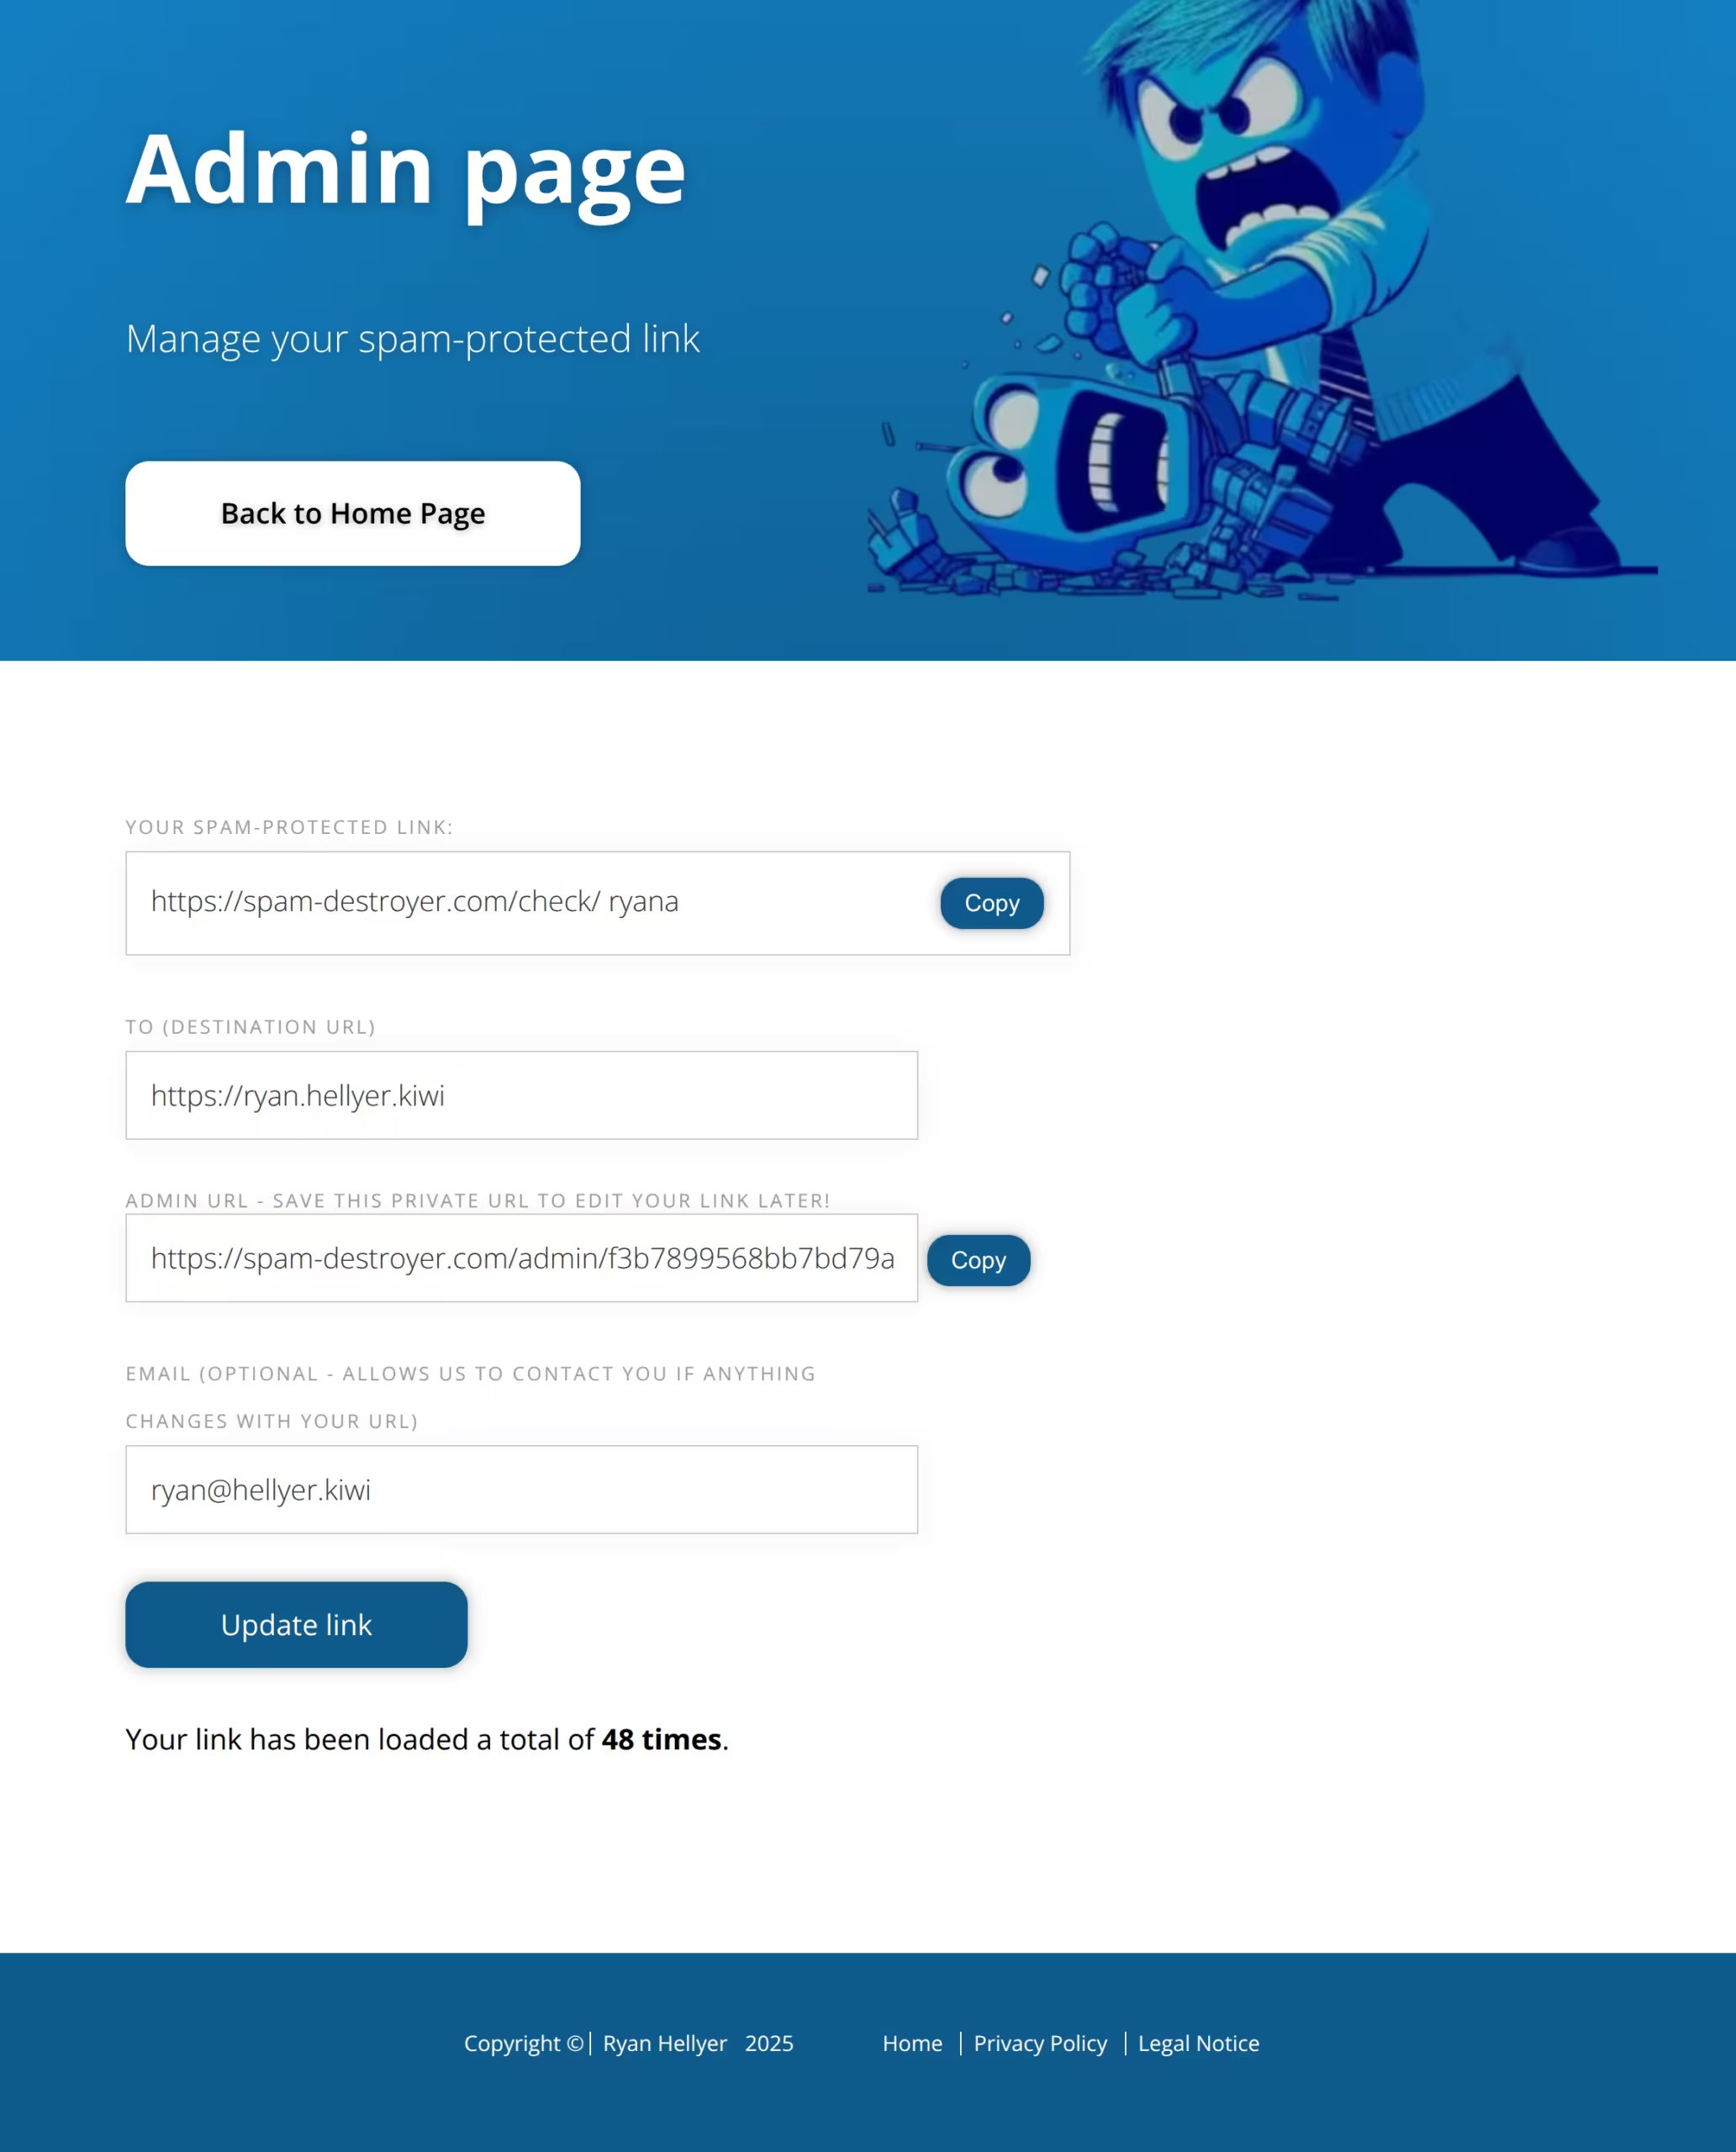
Image of the admin dashboard for editing a link
Better Visuals
The original site had a terrible design. I replaced that with what I hope is a more modern, clean look. I even used Bing Image Creator to generate some friendly, AI-powered imagery to make the experience feel a bit more welcoming. Design is not my strong point, but I feel this is an acceptable end-result for a non-designer.

Analytics
The original version didn’t track how many times a link was clicked. For the original WordPress version, I did consider just iterating a piece of post meta each time a link was clicked, but that’s really resource-intensive, so I never implemented it.
For this new version, I’m using an iterated Redis key for each link. Then every 15 mins, a command in the Laravel scheduler runs, which takes the last 15 mins of link hits and updates MySQL with the changes. This gives us the performance bump from using Redis but reduces the number of MySQL queries significantly, since the data can be added in 15-minute batches.
One thing I tried to implement with the analytics tracking system is that less is more. I considered adding complex queues and extra data tables for handling analytics, but I realized I didn’t need them. There is only one MySQL table for the whole site; it simply stores the from/to paths, email address, and the analytics counter. When asking AI to structure the data, it kept trying to implement all sorts of mumbo jumbo which, although it did often make sense, was creating a lot of code clutter with minimal benefits.
Performance
The performance bump from this upgrade has been quite enormous. The home page was always cached, but when the cache was being built, the site was taking around 100ms to generate the page. When users were logged in, that shot up to 300ms for every click they made.
The new version takes around 12ms per page load, and users are always logged out.
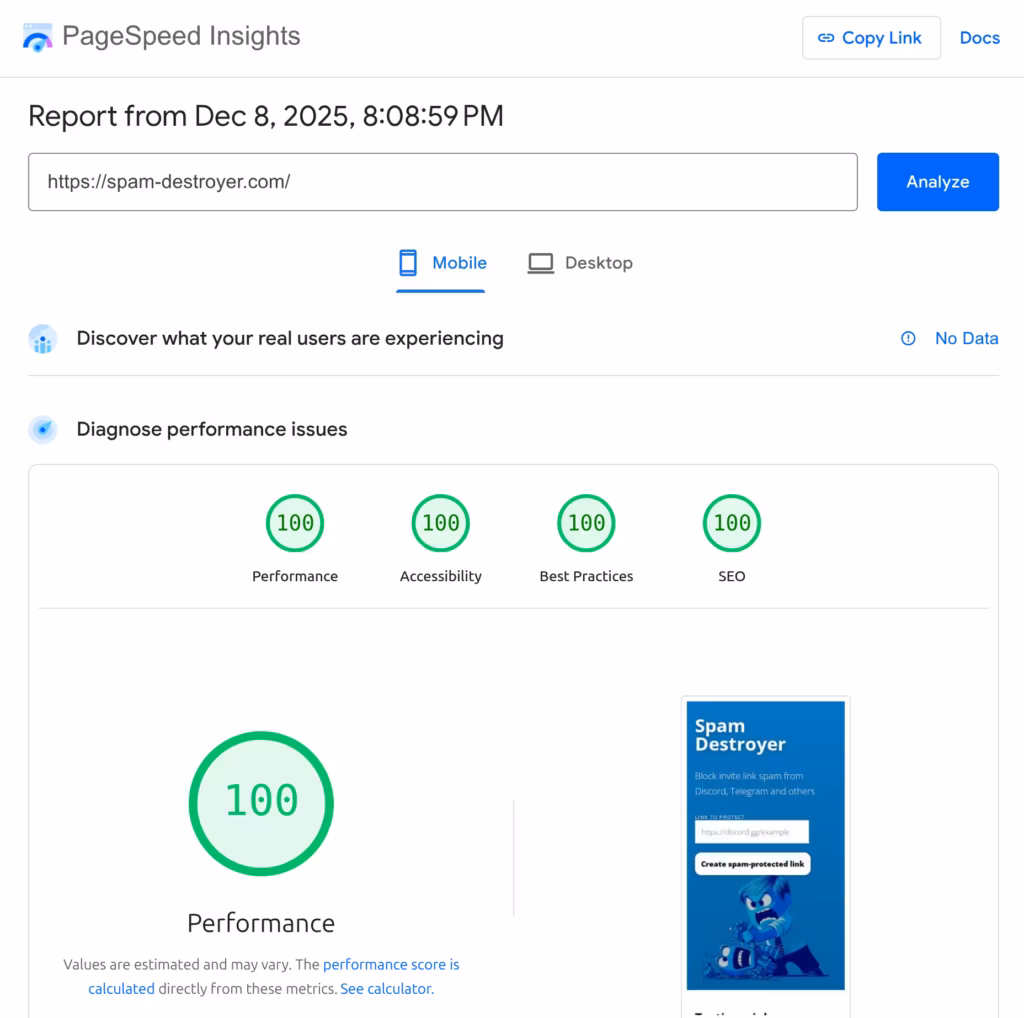
The new HTML/CSS gave me better Google PageSpeed Insights scores too, with 100/100 on mobile and desktop for Performance, Accessibility, Best Practices, and SEO.
Try it yourself
Head over to spam-destroyer.com and test out a few links. It’s light, fast, and ready to kill some spam!